Do you need time off? Are you busy enough that you need help with your airbrushing? Have you ever wanted to hire someone to help you airbrush but did not know how to train a new artist?
We get asked a lot “how do we train our artists? “ Over the past 30+ years we have trained over 100 artists to work with us. Artists for our studio locations, waterpark location and the event portion of the business.
This is a followup to our blog post “How to hire airbrush artists”
Our key policy is training artists from scratch. We have always shied away from hiring experienced artists. I would say that out of the over 100 artists who have worked with us, only 4 were trained in airbrush by someone else. However even these 4 had to be trained in our procedures.
There are 2 main reasons we prefer to train from scratch. The first one being availability. Let’s face it, there are very few airbrush artists in the country, narrow that down further to the even smaller number of artists actually in your area. Then out of those artists most of them probably already have their own business, only do it part-time on the side out of their house or already work for someone else. So you can see that just finding an experienced artist in your area is not that easy.
The second reason is having to break bad habits. If an artist has worked for themselves or someone else for a while then the chances are that they might have some bad habits both technique wise as well as bad personal habits(ie: being late, personal hygiene, poor organizational skills etc…) that they have carried with them over the years and from job to job that have not been successfully corrected. Let’s face it, ALL artists have baggage…lol…ALL artists have a tendency to live in their “own world” and are fiercely independent. This makes it more difficult to teach someone a certain way of doing things and therefore even harder to assimilate them into a NEW way of doing things.
Our solution has always been hiring high school junior and senior art students and freshman college art students. For more information on how to go about hiring(which is a whole different subject) read our blog on “How to hire airbrush artists”
So once you decide to hire a new artist, how do you go about training them?
The first thing you need is a place for them to train. You should have a professional studio, store or classroom location for them to come to. You can NOT have them training out of your home basement…lol…not only is that just weird and creepy but since you would be dealing with 16-20 year olds, you are opening yourself up to a lot of situations that you just don’t want to put yourself in. So do yourself a favor and find a public or somewhat public place to train.
Some of you might be in the “event business” where you do not actually have a store or studio to work from. Fear not, because there are plenty of other options….for example…
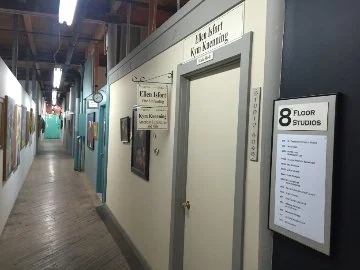
The Pendleton art center warehouse in Cincinnati, Ohio
1.) more than likely there are studios in your area that rent on a temporary basis. These tend to be old warehouse buildings that have been renovated into separate artist studios. They can be relatively inexpensive for $150-$300 a month. This would give you a place to actually go and train someone. We cover this in part 3 of our blog post or “Transitioning from Brick and Mortar to online and events”
2.) another option is “Co-Working” spaces. For those that may not know what “Co-working “ is, we cover this in part 4 of our blog post on “Transitioning from Brick and Mortar to online and events” In short, they are places where you rent “shared office space”. This can be as little as $60-$150 a month and also gives you a professional place to train your new artist.
3.) You can contact local “Sip and paint” studios in your area. These are those places where you get a group of people together and go to this studio and everyone gets to do a painting and have some wine. They are called a lot of different things, but i’m sure you have similar places in your area. They are good places that do not keep regular hours and therefore the studio may be available for you to rent/teach during certain days or times of the day. Just call and explain your situation and see if they might open their doors to let you use the space for a few hours a week.
There are many ways you can find a place that is clean, professional and NOT your basement or garage…lol
Studio Spaces inside the refurbished Pendleton art center.
So what do we start with in our training sessions? Our goal in training a new artist is to get them working and painting for customers as soon as possible. So we focus on the very basics to begin with. This means the basics in not only airbrushing but also in how the business is run, how to take orders, deal with customers, pricing, and all those things associated with a regular “retail” business. Even if you are doing just events, they still need to know these basic social skills of customer service.
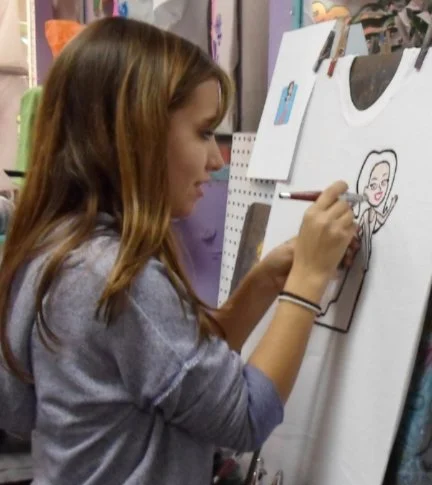
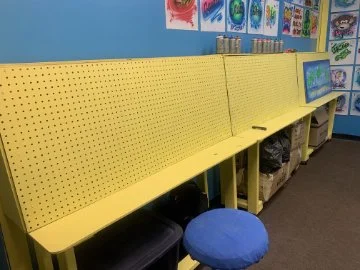
If you already have a studio/store retail location then this part is as easy as just letting them observe while they are training with the airbrush. Since airbrush artists work out in the open, in front of people all day, then it makes sense to train them in front of people also. While our studio has places to airbrush that are in front of the public and places behind the scenes where the public does not see, it is easy for us to have the new artists working right next to us in the front and when a customer comes in, they get to observe how we deal with the customers. If we are really busy with orders then we can also send them to the back to practice on their own. But the key here is that you need to let them observe the retail interactions with the customers just as much as they need to learn to airbrush. Usually within the first few days, they will have learned enough to be put on “counter duty” and will be the ones dealing with the customers in between practicing while you observe. So this part is rather easy to slide in during airbrush training.
Start with the basic dagger and rat tail stroke
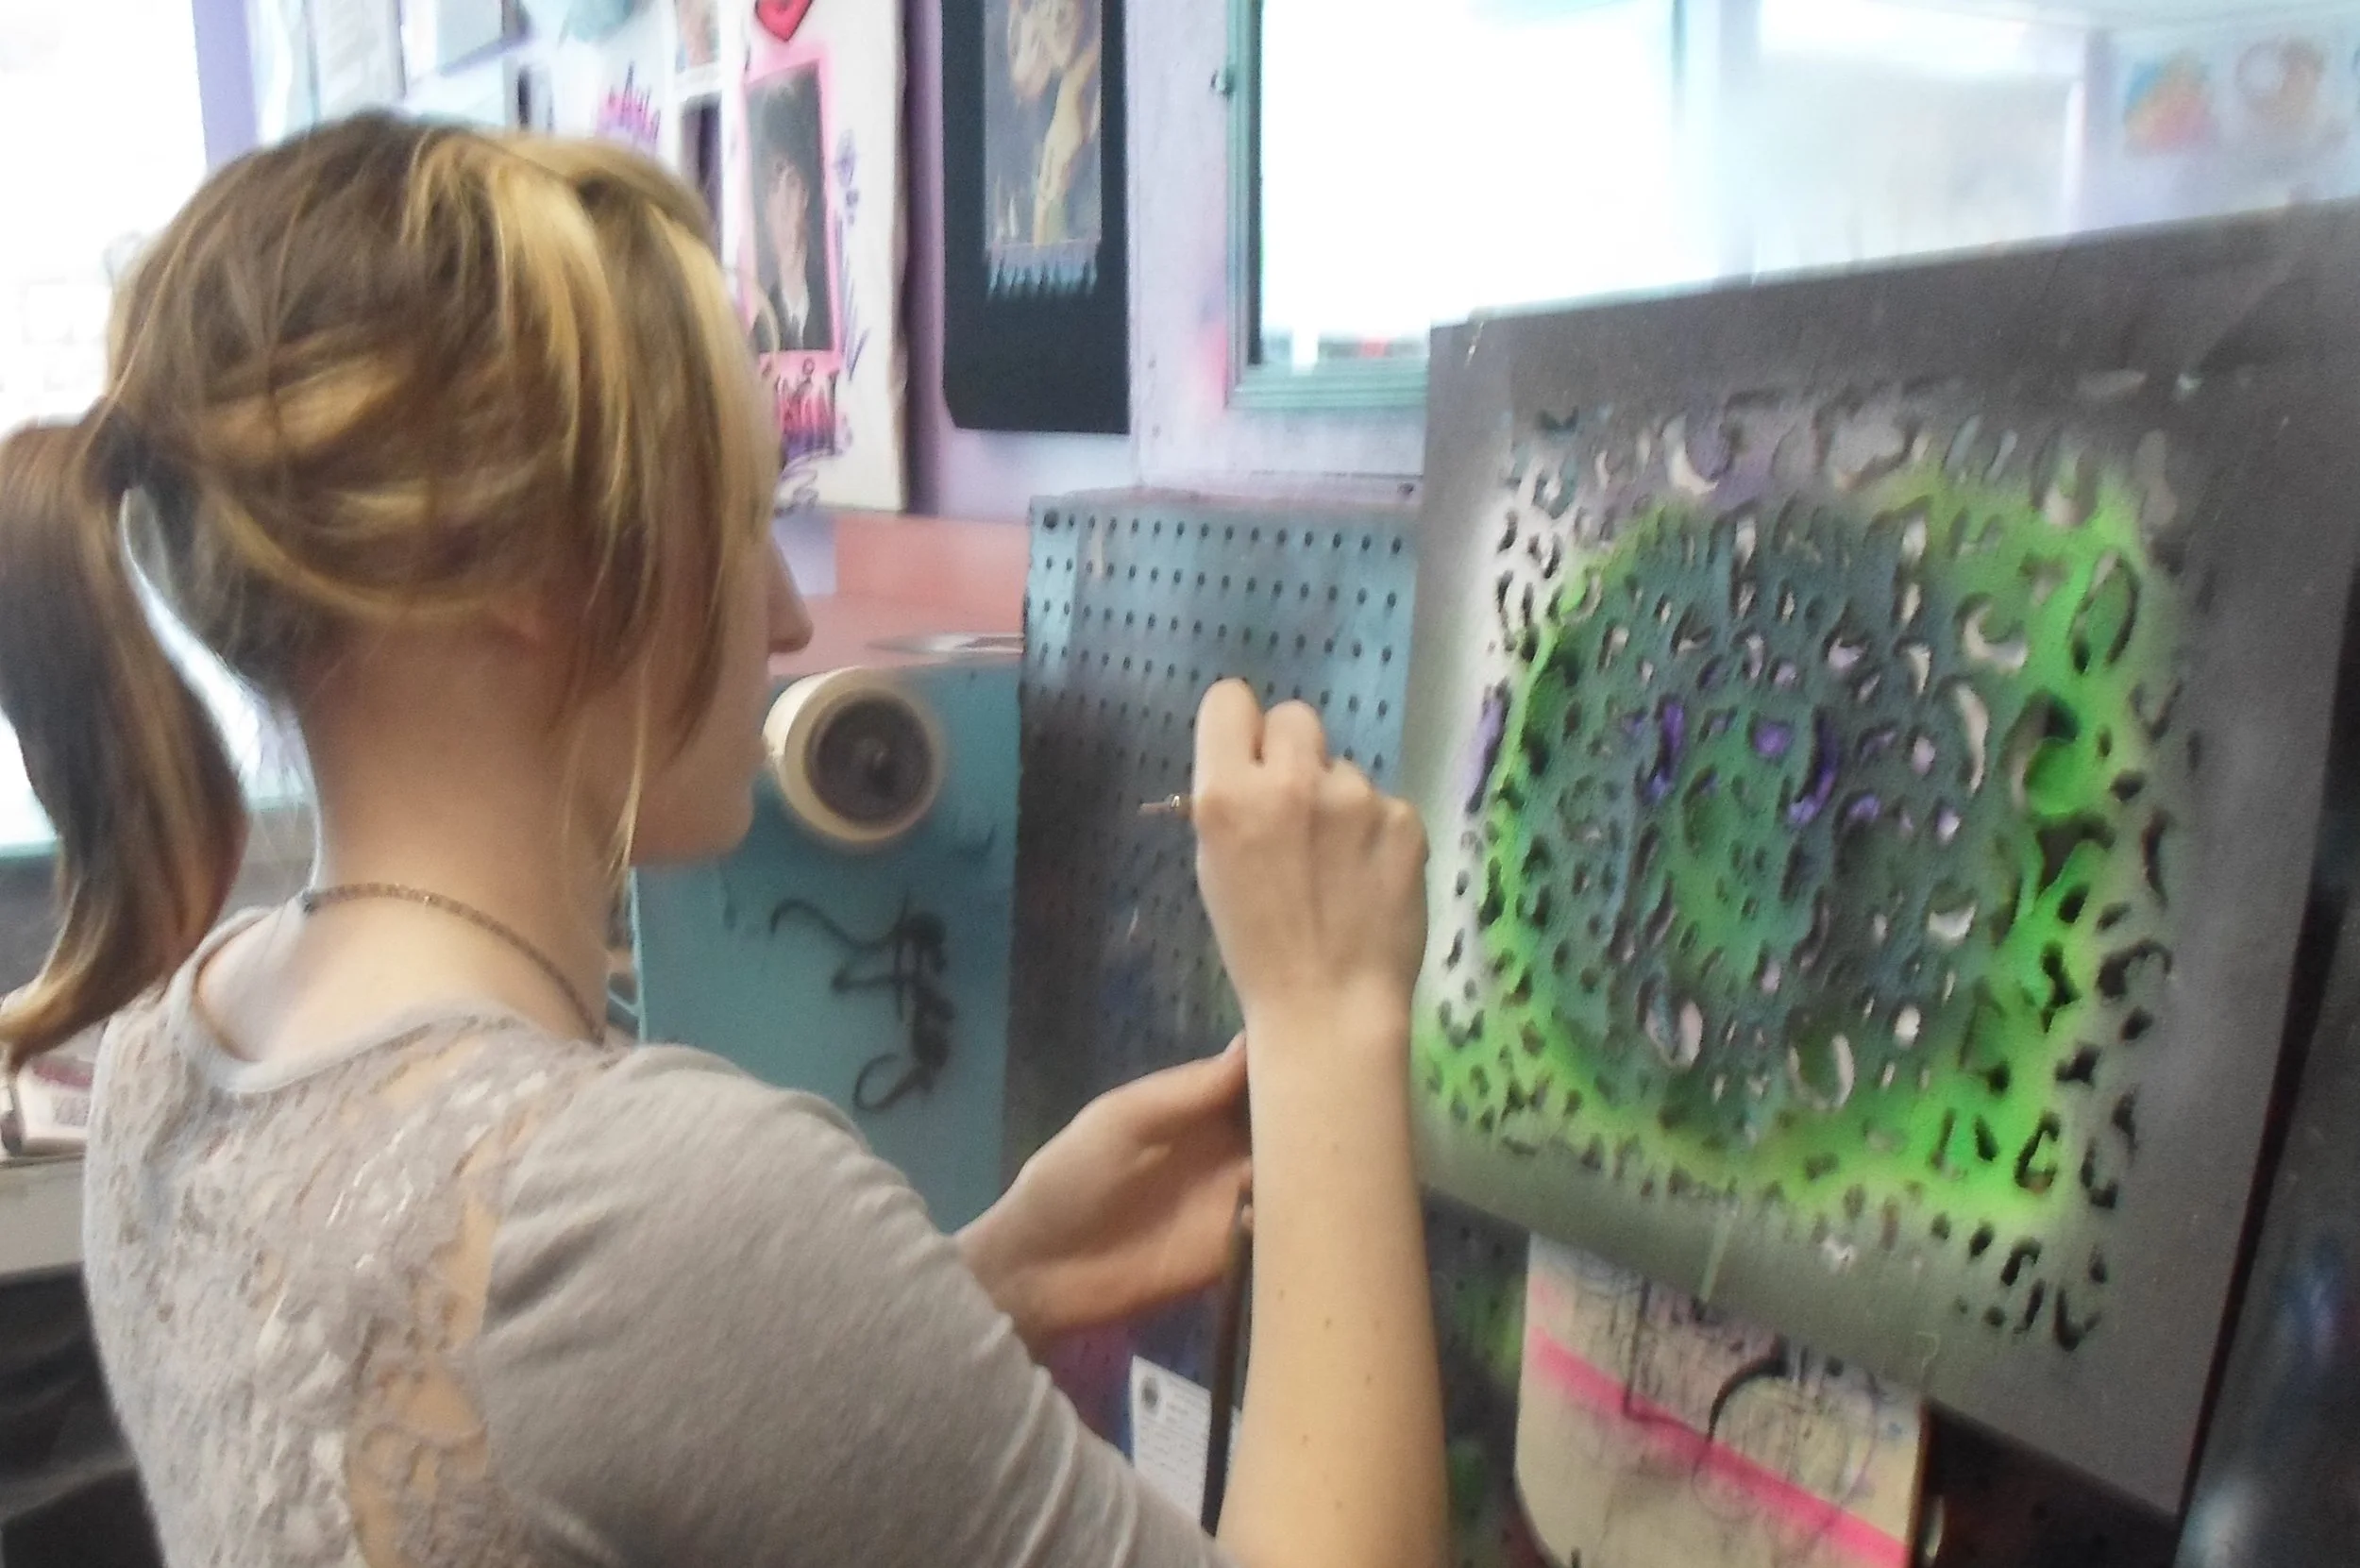
As far as airbrush training, we start our new artists off with the basics of airbrushing from the dagger stroke, rat tail stroke, shading, to the all important lettering. In this day and age you also need to keep in mind that the younger kids are NOT being taught cursive/script writing in schools as they used to. So be prepared to teach cursive lettering from scratch.
We usually set a schedule for the new artists to come in and train/work. We try to keep it at 2-3 hours a day for the first week and increase it as they progress. Anymore than 2-3 hours of dagger strokes, rat tail strokes, palm trees etc.. is just going to get boring real fast and they will lose interest.
This is a good time to also mention “Pay”….we do offer paid training, but also it is important to note that unlike many other airbrush businesses, we pay hourly PLUS commission….we do not pay JUST commission. See our blog on How to pay Airbrush Artists to learn more about this aspect of the business. Our pay during training is usually a few dollars an hour less than what they will make when they actually start painting. At the time of this writing(February 2023) our artists are making $13.00 per hour plus 15% of everything they paint…which averages out to between $18-$22 per hour in our retail locations. So during training they may only get $10.00 and hour until they start doing paid orders, at which point the $13.00hr kicks in as well as the 15% commission.. We offer paid training because it is ridiculous to expect someone to come in and “train” at a new job and NOT get paid something. Even the most eager new artist will eventually become disheartened by all the work and no reward. So you need to pay them something to learn. None of this “apprenticeship” bull crap that you hear about in tattooing where they are learning a “skill” and need to “pay their dues” and learn as they go. This is just an excuse not to have to fork out any money and to apparently “"weed out” the ones that are not serious. The truth however is that you should be able to “weed out” 90% of the bad ones during their first interview. (see our Hiring Artists blog post for more details on interviewing). Offering a ”real” job with “real” paid training will attract a better class of artists if you treat them right from the beginning.
So back to the airbrush training…
The first week will typically look something like this….
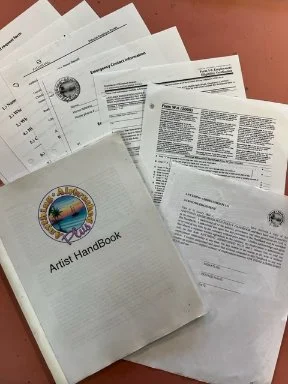
The artist will show up and we will have a packet of all the typical forms for them to take home and fill out. This will include the W4 form, I9 form as well as our own forms and our “artist handbook” which covers all that is expected of them and all that they can expect from working at Anything Airbrushed. We require them to fill this paperwork out and hand it back in by the end of the first week. This includes the “Handbook acknowledgement” page that says they read and understand the handbook.
Typical “new hire” paper work.
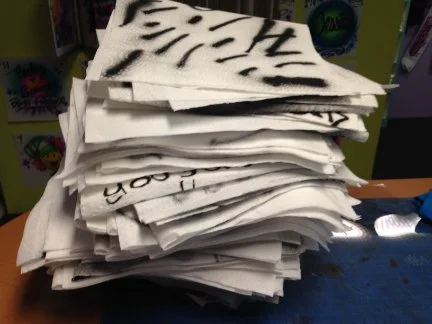
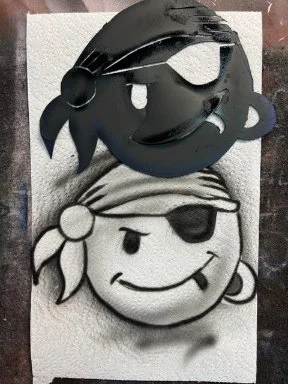
We start them off on paper towels with the basic control exercises of the airbrush including the dagger stroke, rat tail stroke, basic shading as well as let them just have fun with some doodling and writing. This will last the first couple days with each day introducing a new exercise. We will also introduce the “retail” training as they work on the airbrushing so that each day is something new and it never gets to boring….because we all know how easy it is for an artist to get bored…lol. We will also loan them a small airbrush compressor, paint, paper towels and an airbrush to take home and practice themselves when they are not here and bring in the paper towels they practiced on the next time they come in so we can see how they are progressing.
After the first couple days of dagger strokes we will start teaching them how the airbrush works, how to take it apart, clean it and all about the general workings of the airbrush. This in NOT something you want to introduce on the first day. Give them a chance to operate the airbrush BEFORE showing them how the airbrush itself operates….because again, lets face it, this is boring and you do not want to make “training” boring if at all possible…lol
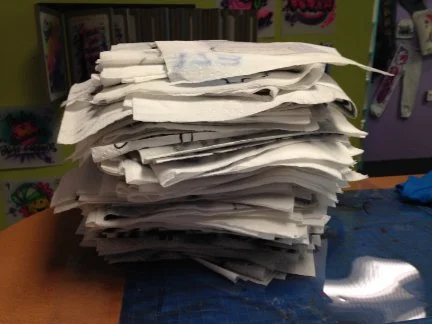
During the training period, new artists will go through hundreds if not thousands of paper towels.
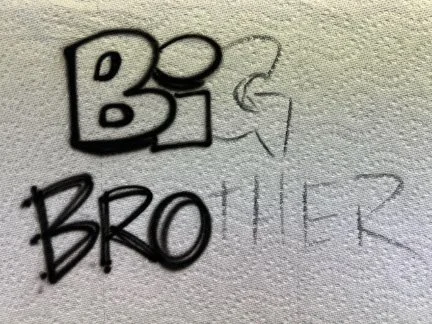
Towards the end of the first week(which is about 10-20 hours of training) we will have them start on lettering. We start by having them write the names of family and friends as well as a list of typical phrases that are common on airbrushed shirts like “I’m the big Brother” or “It’s my Birthday” etc…We have them do this in print and in cursive(if they can). This will tell us what we are working with and where their strengths and weaknesses are.
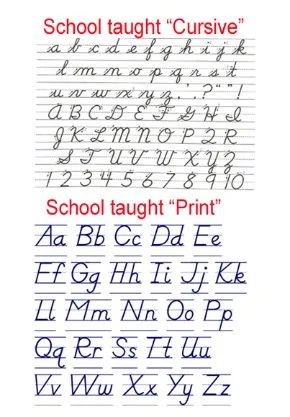
As we said above, cursive will be hard for a lot of younger artists and we start out with the very basics. As a matter of fact we start out with the exact same “guideline” example my kids used in school(and more than likely you did also.)
We start them off with the basic “School taught” Cursive. However we do make a few adjustments to some of the letters. If you notice in the example there are a few “cursive” letters that not very many adults use any more and usually replace them with a more “Printed version of the same letter….these letters are the capital “Q” and “Z” along with lower case “x” and “z”. These few letters are hardly ever seen these days and usually always replaced with a more “stylized hybrid of the print and cursive forms. A few other cursive letters that might not get used as much as taught in school are the capital “F”, “G”, “I", “S” and lower case “m” and “n”. Again, these are generally replaced with a hybrid.
Once we get a good idea of where the artist is with their lettering, we have them focus on those areas that they are struggling with by showing them better ways to do each letter. We many even have them watch a few videos. In most cases, by the end of the second week(about 40 hours of training) most new artists are ready to tackle the most basic designs.
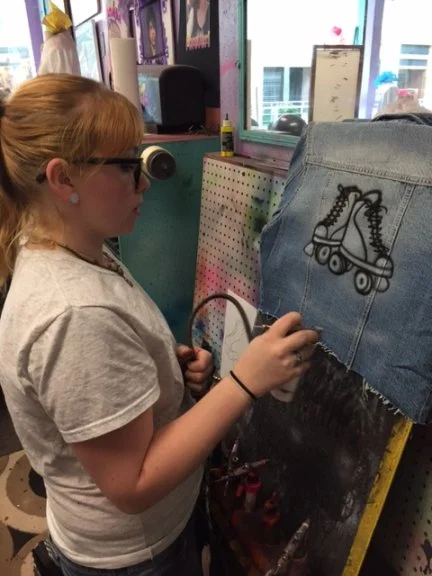
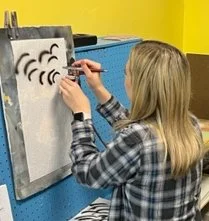
During the end of the first week and beginning of the second week we have them start “practicing” some of the basic designs in the store. Most of these designs will be simple stencil work, either a negative stencil that just gets filled in or a positive stencil that needs to be traced. We generally just have them do the whole design in just black(introducing color later on in the training period). This helps teach them line control and more importantly it helps break up the monotony of just practicing dagger strokes and lettering. It also gives them a sense of accomplishment when they get to finish out a design and actually have something cool to bring home and show their family and friends. As a side note, I learned just how important this is when a parent later confessed to me that their kid was just about to give up before I started letting them practice the designs this way. This person turned out to be one of our best artists….but I almost lost them before they were even done training because they were getting so bored doing palm trees, dagger strokes, lettering. So again, I can’t stress enough to introduce variety into the training period…even if it’s just 20 minutes of folding t-shirts…lol….which by the way younger artists have a hard time even learning how to fold a shirt quickly and cleanly…lol
Once they have started practicing the basic designs we then introduce them to other typestyles like Block, Bubble, Wave(scratch) etc… these take practice and we have them use soft or extra soft Vine charcoal to draw the letters out first.
So after about 40-60 hours(give or take) most artists are capable of doing the basic designs for actual customers. Sometimes we have to step in and do the lettering but in most cases they are capable of producing a finished shirt that is what we consider “customer presentable” meaning it is done well enough that the customer will love it….even if it is not done to the point another “experienced” artist can do. Which brings me to another major point in training a new artist.
Most of the people who ask how do we train so many artists usually follow it up with “I can’t find good reliable, talented help” So let me break that sentence down…
“Good and Reliable”…these are two traits easily weeded out during the interview process and within the first 2 or 3 days of training. If your new hire shows up on time, is personable during the interview, is enthusiastic about learning and working, is dressed in a clean, casual manner without wearing any inappropriate clothing. Then this is the good first step. If you can’t weed this out during the interview and within the first few days of training then YOU are the problem and you probably have higher expectations then necessary for a brand new artist. So the way you do your hiring needs to be reconsidered.
“Talented”…again, during the interview, did they show a good portfolio that showed artistic talent?…if they did not, then you should not have hired them….end of story. If they did show talent back when you hired them but their “customer presentable” work now looks horrible…then you need to keep one thing in mind…their work WILL look horrible to YOU!!….but you really have to learn to look at it with an open mind. It will be a VERY LONG TIME before they can do things as well as you and you therefore should NOT judge them by what you think….you should judge them by the customers reaction to their work. Here to, you have to adjust your expectations.
I know, I know, we ALL cringe the first few times a new artist shows a customer their shirt that they just painted. But you really have to learn that the customer does not see it the way you see it. Most of the people who hire a new artist and then fire them after a short time do so because they just can’t handle the fact that something MIGHT go out of their shop that doesn’t meet the standards of what they themselves as an experienced artist can do. GET OVER IT!!!…it’s just a t-shirt that can easily be re-painted by YOU if necessary….so relax. If the customer truly likes it then that is all that matters. Your EGO has no place in the training of your new artists.
But also keep in mind that you really have to pick and choose the orders that you allow a new artist to do and you really have to accept the fact that YOU might have to re-do it. Obviously, you are not going to give a new artist a car portrait after just 60 hours of training…but a simple beach scene with stenciled palm trees should not be a problem, if it IS a problem then it just means they are not ready for that design yet so move them on to something different. This won’t last forever, they will eventually do it to your liking and quite frankly(if you train them right) they may even do it BETTER than you.
It’s all in the training. You have to be a “people person”(which sadly most artists are not) but if you can’t be a people person for a short time while training then you need to accept the fact that you are destined to work alone…lol. Training doesn’t involve putting an airbrush in their hand, giving them a roll of paper towels and then walking away. It takes constant supervision, constant adjustment, correction and encouragement. The ones who fail at hiring good artists are the ones who are just to lazy to put the effort needed into training. So remember, if you train them right, you will get good results. With that being said….YES even with a lot of effort and patience, you still might come across someone who is just impossible to train. If this happens, let them go…it’s as simple as that. Just be sure that YOU did everything you could to help that person before you take that step.
So, after they have started doing basic orders, it’s all a matter of introducing them to new, more challenging things over time all the while still practicing the basic stuff. During all this time you will also be introducing them to the use of other tools that you may use on a daily basis like, plotters, vinyl cutters, computer programs, POS systems(registers) etc…
Keeping them engaged, active and creative is the key to keeping good artists. We have always required our artists to come up with new displays. This can be as simple as just adding a new twist to an old display all the way up to doing a new “highly detailed custom display” like a celebrity portrait, animal portrait , automotive portrait etc…which gets hung up in the store. Our policy with “custom displays” is that when that actual display sells, they get to keep 75% of what it sells for. This is really an incentive that helps keep your displays changing and keeps up with new trends.
We will encourage them to try new things for themselves and walk them through the whole process. This can be letting them work on personal things like a batting helmet for a little sister or even a motorcycle tank for their dad. We walk them through the whole process but we are honest with them before they start as to whether or not we think the are ready.
Once they start painting things they enjoy in their down time, this really switches the “training” from your shoulders to theirs. Once you have taught them to the point where they are doing good “customer presentable work“ and beyond, then it is up to them where they want to go with this new talent.
So let’s recap the things you should include in your training process.
1.) Interview process..they must show a portfolio…it doesn’t have to have airbrush samples, it just needs to show artistic talent.
2.) set hours for training and have them fill out all appropriate paperwork.
3.) create a “handbook” so that all responsibilities are laid out for them
4.) start with dagger strokes, rat tail strokes, basic shading
5.) use videos and social media to your advantage in showing them different tricks of the trade.
6.) show them how the airbrush works, how to take it apart and clean it.
7.) start showing them the “retail” responsibilities…ie: how to answer the phone, taking orders, using the cash register, keeping the store clean….etc
8.) give them an airbrush, compressor, paper towels and paint to take home and use just during their training period and practice on their down time at home. (This is optional)
9.) move on to lettering
10.) move onto basic designs with stencils
11.) introduce other typestyles such as block, bubble, wave(scratch)
12.) be attentive and patient during the whole training process
13.) show them the use of the other tools, devices, machines that you use on a regular basis.
14.) introduce painting on new items like, wood, canvas, metal etc…
These are all the necessary things that any new airbrush artist who will be working in a retail or event environment needs to know to grow and become an essential part of your business.
While every airbrush business will vary on their needs and exactly the way they do things. It is important to remember that your main goal is to train the new artists how to use the airbrush and get them working as quickly as possible. However, you want to make sure they are comfortable and that their work is “customer presentable(even if it isn’t as good as yours)
